
PETG Shrink Tunnel Temperature: How to Set It Right
Why the tunnel set point is not the film temperature, how steam and hot-air tunnels compare, and how to build a zone-by-zone curve that seats a PETG sleeve cleanly.
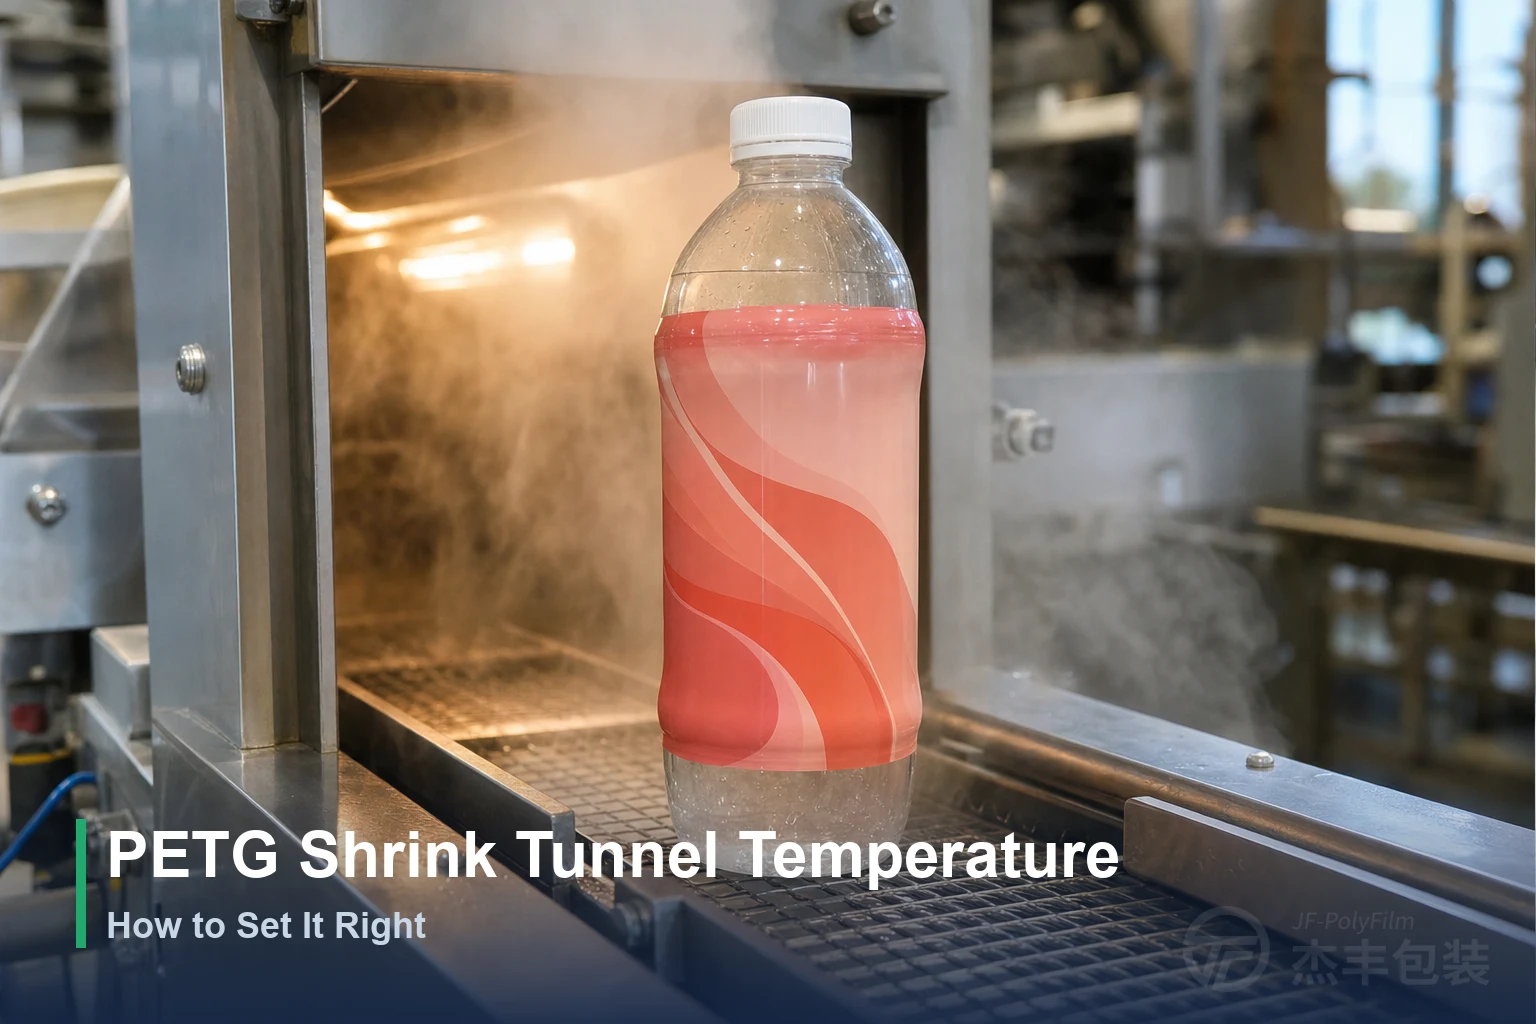
Setting PETG shrink tunnel temperature comes down to one target: driving the film itself to about 95–100°C for a few seconds. The number on the tunnel panel is only a means to that film temperature, and on a hot-air tunnel the two are rarely the same.
Key takeaways
- PETG reaches full shrink when the film itself hits roughly 95–100°C; contraction starts around 65–70°C. Every tunnel setting exists to land the film in that window, not to reach a number on the panel.
- On a hot-air tunnel the air set point runs far higher — commonly 150–260°C, with heating elements hotter still — yet the film and container only reach about 95–100°C. The high air temperature pushes heat in fast; it does not bake the bottle.
- A steam tunnel holds a gentler 80–95°C saturated-steam environment that wraps the sleeve 360°, giving the most even shrink for complex shapes and high-clarity print.
- Industrial tunnels run several independent zones; a progressive preheat (~80–90°C) into a hotter main-shrink zone seats a sleeve on shouldered, waisted bottles far more cleanly than one hard blast.
- Shrink is temperature multiplied by time: belt speed sets the dwell, and PETG’s wide, forgiving window absorbs normal drift in both without spoiling the result.
Set point versus film temperature: the number that actually matters
The temperature that decides whether a PETG sleeve shrinks correctly is the temperature the film itself reaches, not the value dialed into the tunnel — and on a hot-air tunnel those two can differ by more than a hundred degrees. Reading the panel as if it were the film temperature is the single most common way operators misjudge a tunnel.
PETG film draws in fully once its own temperature climbs to roughly 95–100°C, with contraction beginning around 65–70°C. A saturated-steam tunnel runs at about 80–95°C, near the top of PETG’s shrink band, so its reading is a fair proxy for what the film experiences — and because contraction starts around 65–70°C, that environment already drives most of the shrink. A hot-air tunnel is a different matter: the panel may read 150–260°C, and the heating elements run hotter again, but that is the temperature of the air being blown across the sleeve, not the temperature the film or the container arrives at. The film is in that heat for only seconds — time enough to reach its shrink point, but not to climb toward the air’s own setting. The air is deliberately set well above the film’s target so that enough heat transfers in that short window — a bottle leaving a hot-air tunnel is warm to the touch, not scorched to 200°C.
Getting this distinction straight changes how a tunnel is tuned. If the goal is understood as “make the film reach ~95–100°C,” then set point, airflow, and belt speed are all just levers for delivering that much heat in the available time, and none of them is a target in its own right. Why heat makes an oriented film contract at all is a materials-science question worked through in how PETG shrink film works; on the line, the only number to chase is the film temperature the settings produce.
Steam or hot air: choosing and setting each tunnel
Steam and hot-air tunnels bring the film into its shrink range by opposite routes, and the choice between them is driven by container shape, print quality, and line speed rather than by a headline temperature. A steam tunnel bathes the sleeve in saturated steam at a low, even 80–95°C, warming the film to near that temperature; a hot-air tunnel blows much hotter air and carries the film up to its full ~95–100°C shrink point.
A steam tunnel is the gentler, more uniform option. Saturated steam surrounds the container on all sides at once, transferring heat quickly and evenly, so the whole sleeve reaches temperature together and draws in without the localized over- or under-heating that distorts print. Its low working temperature is itself a safeguard against warping, which is why steam is the usual choice for waisted or compound-curved bottles, empty and thin-walled containers, heat-sensitive contents, and premium graphics that cannot afford distortion. The cost is infrastructure: a steam supply, plus condensate and moisture management around the line.
A hot-air, or convection, tunnel is cheaper, more compact, and simpler to run, with no moisture to manage and independent zones that are easy to adjust for higher throughput. Its weakness is evenness. Because it works by directed airflow, it is prone to hot and cold spots, and it struggles to heat irregular geometry uniformly, so it leans on careful airflow, fan-speed, and belt-speed tuning to compensate. For regular, near-cylindrical containers run at speed, that trade-off is usually worth it.
| Steam tunnel | Hot-air (convection) tunnel | |
|---|---|---|
| Working temperature | Saturated steam ~80–95°C (≈175–200°F) | Air set point ~150–260°C; the film still only reaches ~95–100°C |
| Heat transfer | 360° saturated steam — even and gentle | Directed hot airflow — prone to hot and cold spots |
| Best suited to | Complex or waisted shapes, heat-sensitive contents, high-clarity print, full-body sleeves | Regular shapes, higher line speeds, moisture-free environments |
| Main trade-off | Needs a steam supply and condensate management | Cheaper and compact, but evenness rides on airflow and belt-speed tuning |
Building the temperature curve across zones
An industrial shrink tunnel is not one oven at one temperature; it is a series of independently controlled zones, and setting them as a rising curve rather than a single blast is what lets a sleeve follow a complicated bottle. The film should meet a gentler preheat first, then the hottest main-shrink zone, then ease off so the shape sets before the container leaves the heat.
The logic follows the container’s geometry. A preheat zone around 80–90°C warms the film and lets it relax and lose internal stress before it starts to contract in earnest, which reduces the tendency to grab unevenly. The main zone then delivers the heat that carries the film to its ~95–100°C shrink temperature, and by that point the sleeve seats section by section — tightening on the shoulder, then the waist, then the base — as each diameter reaches temperature in turn. A tunnel that hits the whole sleeve with maximum heat at once tends to lock one region in before the neighboring region has drawn in, which is exactly where gathering and uneven pull come from on shouldered or waisted shapes.
Independent zone control is what makes this curve possible. Separating top from bottom and entry from exit lets an operator put heat where a given bottle needs it — more at the base skirt that is slowest to close, less where the print sits over a flat panel — instead of accepting one compromise setting for the entire container. The steadier the match between the tunnel’s temperature profile and the order in which the bottle’s features need to shrink, the cleaner the finished sleeve.
Dwell time and line speed
Shrink is a product of temperature and time, so belt speed matters as much as any temperature setting: it fixes how long the sleeve stays in the heat, and that dwell has to be long enough for the film to reach full contraction but no longer. For most sleeves the right dwell is a matter of a few seconds, and it is set by conveyor speed rather than by a clock.
The balance runs in both directions. Too little dwell — a belt running too fast, or a set point too low — never lets the film hold at ~95–100°C long enough, so the sleeve comes out under-shrunk: loose, with an open base skirt and orange-peel wrinkling where the film has not tightened to the contour. Too much dwell — a belt too slow, or a set point too high — overheats the film past what the shape needs, so it over-draws into distortion, gathering, or burn-through, and the print warps. Temperature, airflow, and belt speed are tuned together against one another; slowing the belt and lowering the set point can deliver the same total heat by different means. Tunnel length feeds into the same balance, since a longer heated section holds a given dwell at a higher belt speed, letting throughput rise without shortening the time the film spends at temperature.
| Heat delivered to the film | What the sleeve does | What you see |
|---|---|---|
| Too little (set point low or belt too fast) | Film never holds at ~95–100°C long enough | Under-shrink — loose fit, open base skirt, orange-peel wrinkling, print not tight to the contour |
| In the window (film ~95–100°C, dwell sufficient) | Film draws in fully and evenly | A clean, tight sleeve that follows shoulder, waist, and base with the print in register |
| Too much (set point high or belt too slow) | Film overheats and over-draws | Over-shrink — distortion, gathering or wrinkling, burn-through, warped print |
These are the symptoms, not the cure. Matching each one to its underlying cause and working through the correction is a diagnostic exercise in its own right, set out in solving PETG shrink film problems.
Dialing it in on a real container
Settings that look right on paper still have to be proven on the actual bottle, so the practical way to reach a stable tunnel profile is to start from a known range and refine it against a sample. Beginning from the film supplier’s recommended window saves the guesswork of finding the target film temperature from scratch.
A workable sequence runs like this: start from the recommended tunnel range on the film’s datasheet, which for PETG is built around bringing the film to about 95–100°C; run a short sample and inspect how the sleeve seated; then adjust the individual zones and the belt speed to correct what the sample showed. The inspection has to cover the whole profile — shoulder, waist, and base — rather than one panel, because a setting that seats the body cleanly can still leave a slack skirt or a pinched shoulder. Once the sample reads clean across the contour, the profile is confirmed on the real production container at full line speed, since a small change in bottle shape, fill state, or throughput can move the result. A shrink sleeve, after all, is only judged good once it grips a specific container correctly, not in the abstract — the format and where it fits among label types is covered in what a shrink sleeve label is. JFPolyFilm’s datasheets and per-batch Certificate of Analysis give a starting tunnel window for each grade, which shortens that trial rather than leaving an operator to search for it.
Why PETG is forgiving to run
PETG is one of the easier films to keep inside its window, because its shrink curve is smooth and starts low, giving a wide, tolerant processing range. A few degrees of drift in the tunnel or a small wobble in line speed do not push a good sleeve into a bad one, which is a real advantage on a production floor where nothing holds perfectly steady.
That width comes from the material staying amorphous, and on the line it shows up as tolerance: where PVC and oriented polystyrene demand tighter temperature control to shrink evenly, PETG holds a clean result across a broader band of settings. The molecular reason behind that smooth curve belongs to the mechanism article rather than here; what matters at the tunnel is that the window is wide enough to absorb normal variation. How much total shrink a given container actually needs — and how the 65%, 75%, and 80% figures map onto bottle shapes — is a separate sizing question worked through in how to choose a PETG shrink rate.
JFPolyFilm’s clear and white PETG grades measure TD ≥75% with machine-direction shrink held to 3.0% or below, run on our own production lines, so the sleeve tightens around the girth without shortening or dragging the print out of register. For a container with a known shape and shrink target, clear PETG shrink film can be matched to the grade whose curve and starting tunnel window seat cleanly on it.
Frequently Asked Questions
What temperature should a shrink tunnel be set to for PETG film?
Does a hot-air tunnel really heat the bottle to 200°C?
Steam or hot-air tunnel for PETG shrink sleeves?
Why use multiple temperature zones instead of one setting?
How long should PETG stay in the shrink tunnel?
Related Articles
How to Store Shrink Film: Rolls, Shelf Life, Handling
What the 10–30°C, 12-month storage window actually protects, how to stand rolls so they don't flat-spot, and why film has to acclimate before it reaches the line.
Shrink Film Test Methods: How Specs Are Measured
Every figure on a shrink film datasheet or COA traces back to a standard method. See which ASTM and ISO tests measure shrinkage, tensile, haze, and gauge, and how to read the report.
Need Expert Advice on Shrink Film?
Our technical team can help you choose the right film for your application.
Contact Us